Content
- Preparing for planting: choosing a variety and creating conditions
- Planting and initial growth: first steps
- Plant care: important nuances and advice from growers
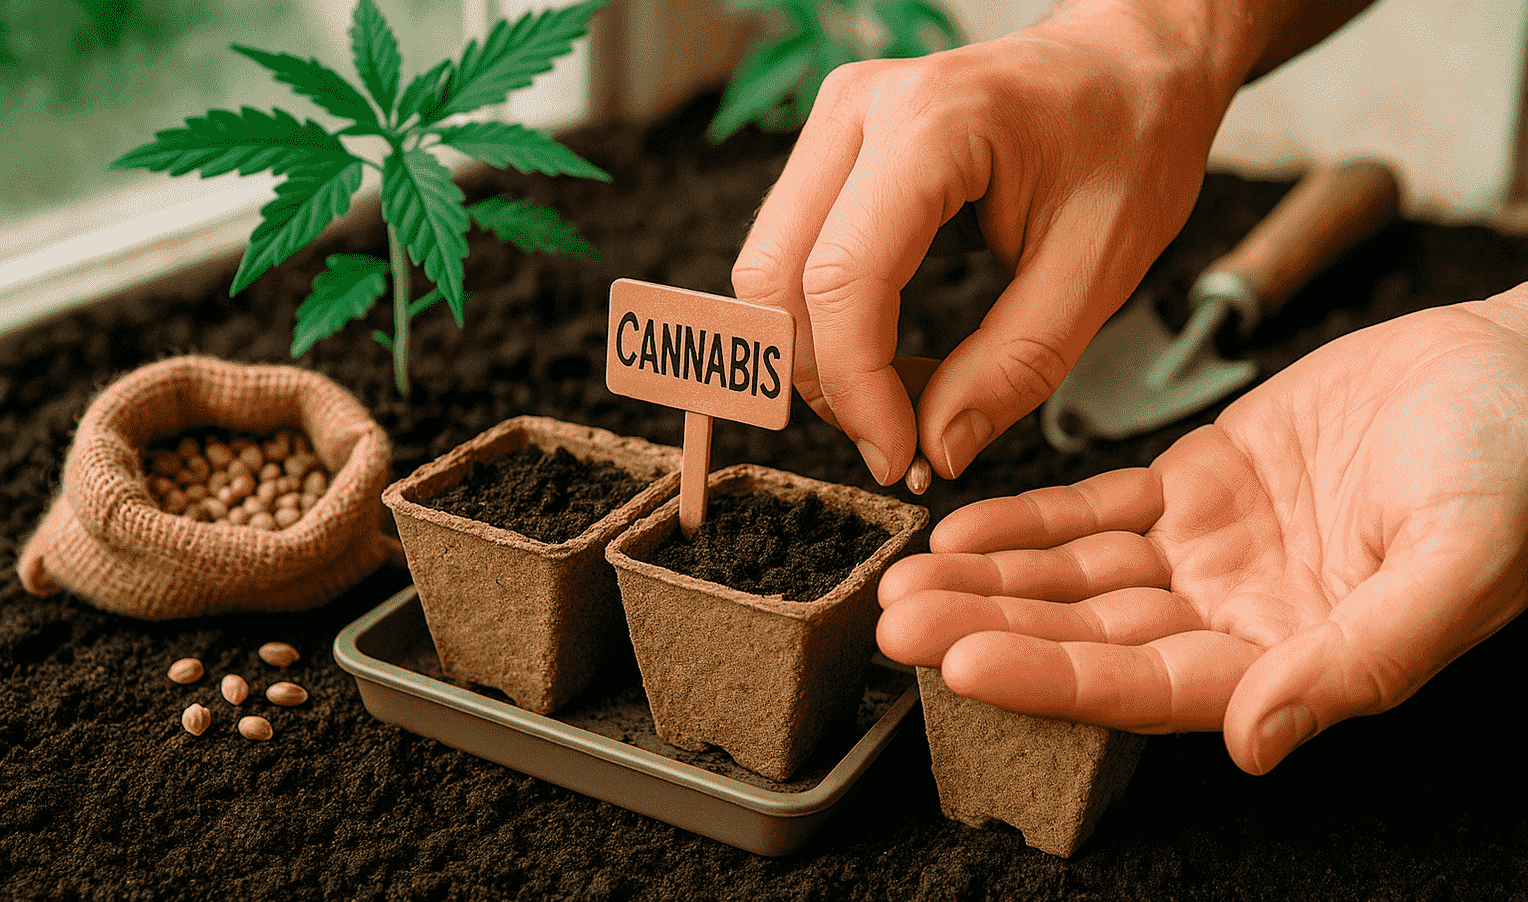
Planting cannabis is the most important step on the path to successful growing. The health of the plant, the strength of the effect and the quality of the harvest depend on the right start. In this article, we will tell you how experienced growers plant cannabis correctly to grow a strong and healthy plant, even if a beginner is just starting growing from scratch.
Preparing for planting: choosing a variety and creating conditions
Before you start growing, it is important to start with the basics: choosing the right strain and creating optimal conditions. Beginners often ask how to plant indica cannabis seeds correctly, because these plants are famous for their resistance, compactness and relaxing effect. Indica is ideal for home growing, especially if the grower has limited space.
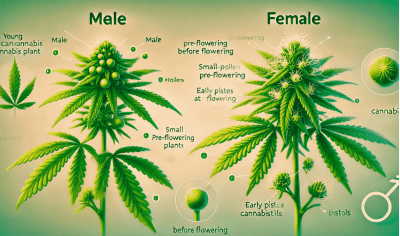
When choosing seeds, pay attention to feminized or autoflowering options - they exclude the possibility of male plants appearing and do not require changing the light cycle. This greatly simplifies the task for those who are just starting to grow from scratch.
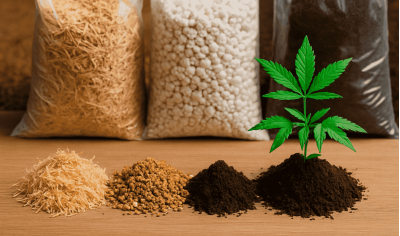
The next step is to prepare the conditions. Proper planting of cannabis is impossible without a suitable environment. It is important to provide:
- Lighting — full-spectrum LED lamps;
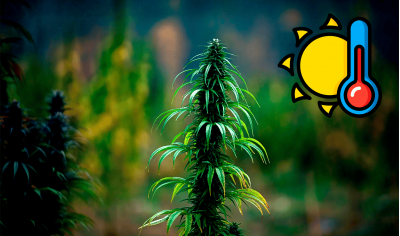
- Temperature — 24–26°C during germination;
- Air humidity — about 70% in the first days;
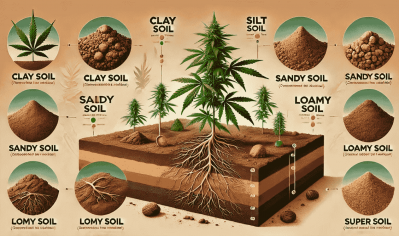
- Soil — light, with good drainage, pH within 6.0–6.5.
It is equally important to think about the place for growing in advance. For growing at home, special growboxes are suitable, in which it is easy to control the microclimate and lighting.
Remember: success depends on the little things. The more accurately the grower approaches the preparation, the easier it will be to grow cannabis at home without making mistakes already at the first stage.

Planting and initial growth: first steps
After preparing the conditions, the key moment comes - planting the seeds. Many novice growers are interested in how to plant cannabis sativa seeds, because this subspecies requires a little more attention due to its size and growth rate. However, with the right technique, even sativa can successfully grow at home.
Germination of seeds
Before planting seeds in the soil, it is advisable to germinate them. This can be done as follows:
- Place the seeds between damp cotton pads or paper towels;
- Keep them in a warm and dark place (temperature about 24–26°C);
- After 24–72 hours, a 2–3 mm long root will appear.
Transfer to soil
When the seed has given root, it is time to carefully plant it in the prepared soil. Here is how experienced growers do it:
- Prepare a small pot with loose soil;
- Make a hole 1–1.5 cm deep;
- Carefully place the sprouted seed root side down;
- Sprinkle with soil and lightly moisten.
Care in the first days
Hemp growth begins from the very first day. In order for the young plant to take root, the following conditions are observed:
- Light: at least 18 hours a day;
- Temperature: 22–25°C;
- Humidity: 60–70% for seedlings;
- Watering: moderate, do not overwater.
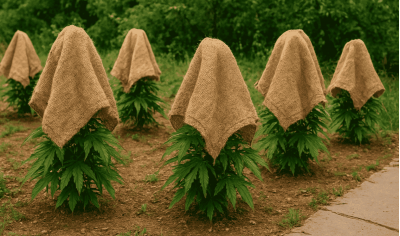
It is especially important not to place the sprouts under direct, powerful LEDs right away - use diffused light or increase the distance from the lamp.
If a grower wants to grow cannabis at home with good results, especially varieties such as sativa, following these steps will help to avoid most mistakes at the start. Planting cannabis is a responsible process, and already at this stage the future potential of the harvest is laid.

Plant care: important nuances and advice from growers
After planting the seeds and the appearance of the first leaves, the active growth stage begins. This is the time when proper care of cannabis is especially important - the health of the bushes, their immunity and future harvest depend on it. This is especially true if the grower grows autoflowering varieties, which have a limited time for development. Therefore, it is important to understand how to plant autoflowering cannabis seeds and how to care for them after germination.
Autoflowers do not depend on the light regime and begin flowering on their own - after 3-4 weeks. This means that any mistakes at an early stage can affect the final result. Here are the main aspects of care, presented in the table:
| Care stage | What needs to be done | Tips from experienced growers |
| Lighting | 18-20 hours of light daily | Use full spectrum LED bulbs |
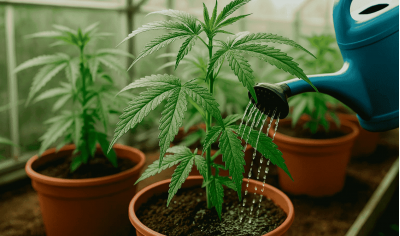
| Watering | Moderate, after the top layer of soil has dried out | It's better to underfill than overfill |
| Fertilizers | Start from 2-3 weeks, with small doses | Use fertilizers for vegetative and color |
| Temperature | 22–26°C | Avoid sudden changes |
| Humidity | 50–60% during vegetation, 40–50% during flowering | Provide ventilation |
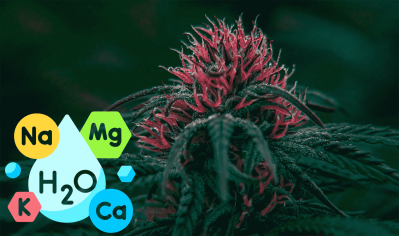
| pH control | Soil pH 6.0–6.5; water pH 6.2–6.8 | Measure pH every time you water |
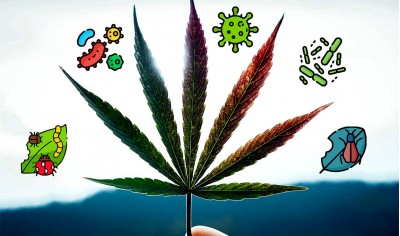
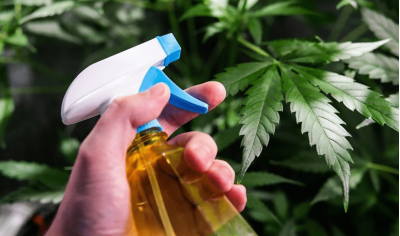
| Inspection of the plant | Check leaves and stems for spots, curling, and pests | Early diagnostics is the key to healthy bushes |
Once the grower understands how to plant autoflowering cannabis seeds, it is important to remember that further care of the plant is a simple but regular process. Autoflowering varieties quickly go through the stages of growing cannabis, so any delays or mistakes can reduce the harvest.
Grower tips: monitor every change in the appearance of the bush, adjust the watering and feeding regime, and in no case replant autoflowers after the start - they do not like it. It is better to immediately plant the sprouted seed in the final pot.

Attention! Errors Seeds does not encourage you to grow cannabis and does not promote it in any way. Cultivation is prohibited by the legislation of Ukraine. The article is of scientific and introductory interest only.


Write a comment